Enable payment with credit/debit card for business in the United States
If you're located in the US and would like to enable credit/debit card payment for your customers, this guide is for you.
Please follow these steps for a successful setup:
Step 1: Create account with Menubly for free from here, or if you already have an account with Menubly, login to your account from here.
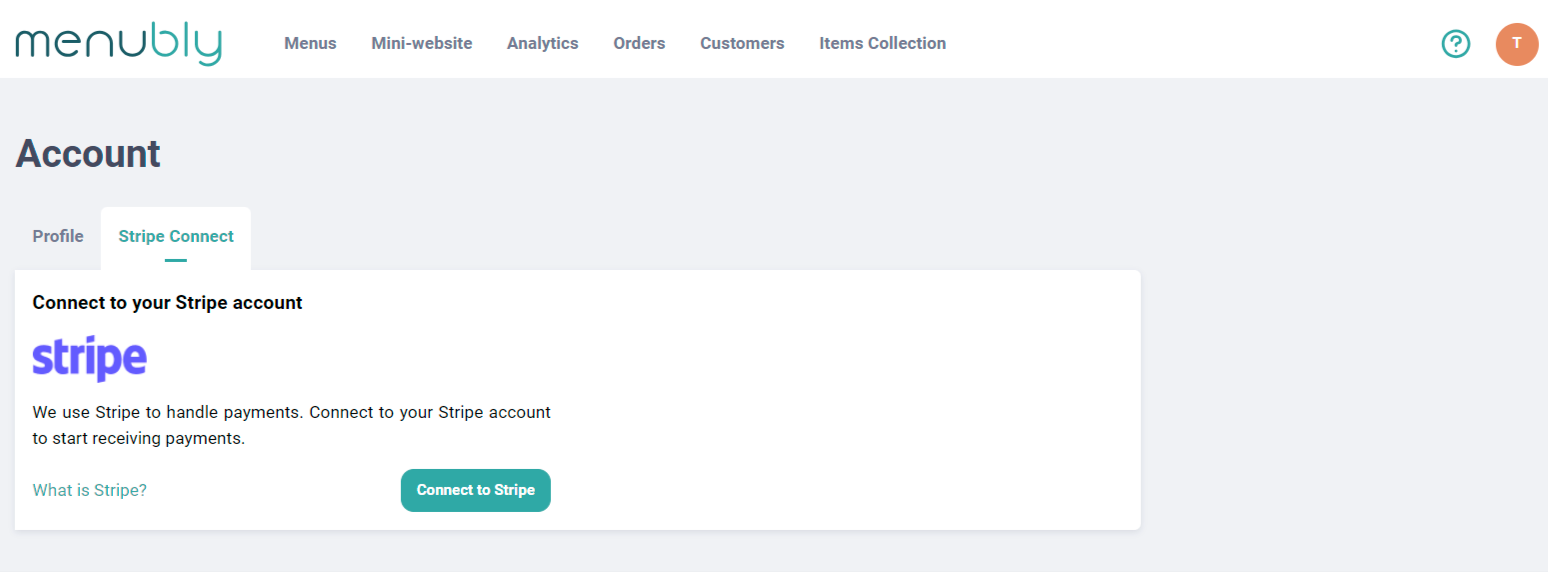
Step 2: Go to Stripe Connect under Account, and click on Connect to Stripe button to go to Stripe platform and set up your Stripe account (which you will use to collect payment with Menubly).
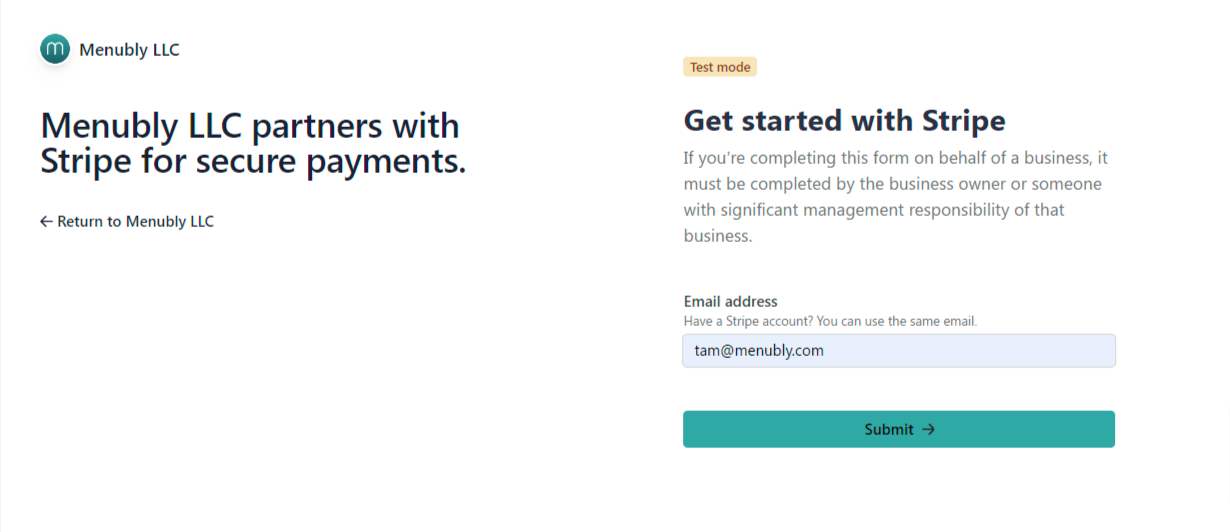
Step 3: When you get redirected to Stripe for creating your account, you will see this screen here.
If you have not set up any account with Stripe before, you can enter the email you would like to sign up with Stripe and click Submit.
If you have already had an account with Stripe, no need to create a new account, just enter the email you use for your current Stripe account and click Submit.
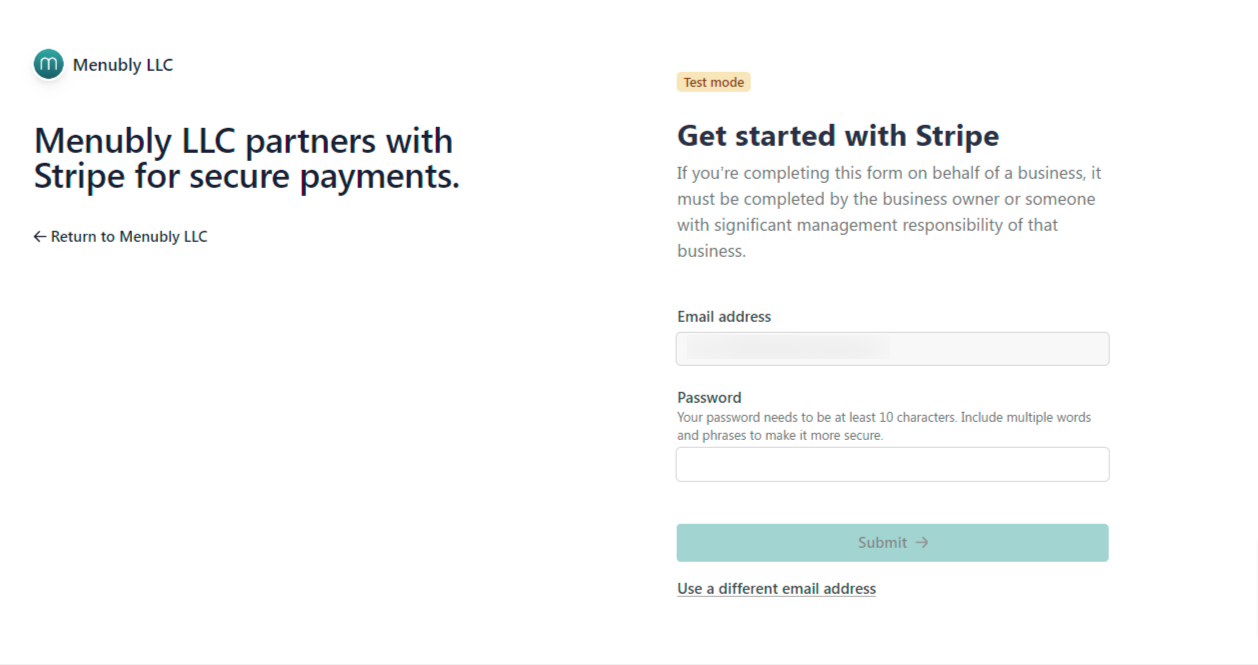
Step 4: Enter password that you will use for your Stripe account and click Submit.
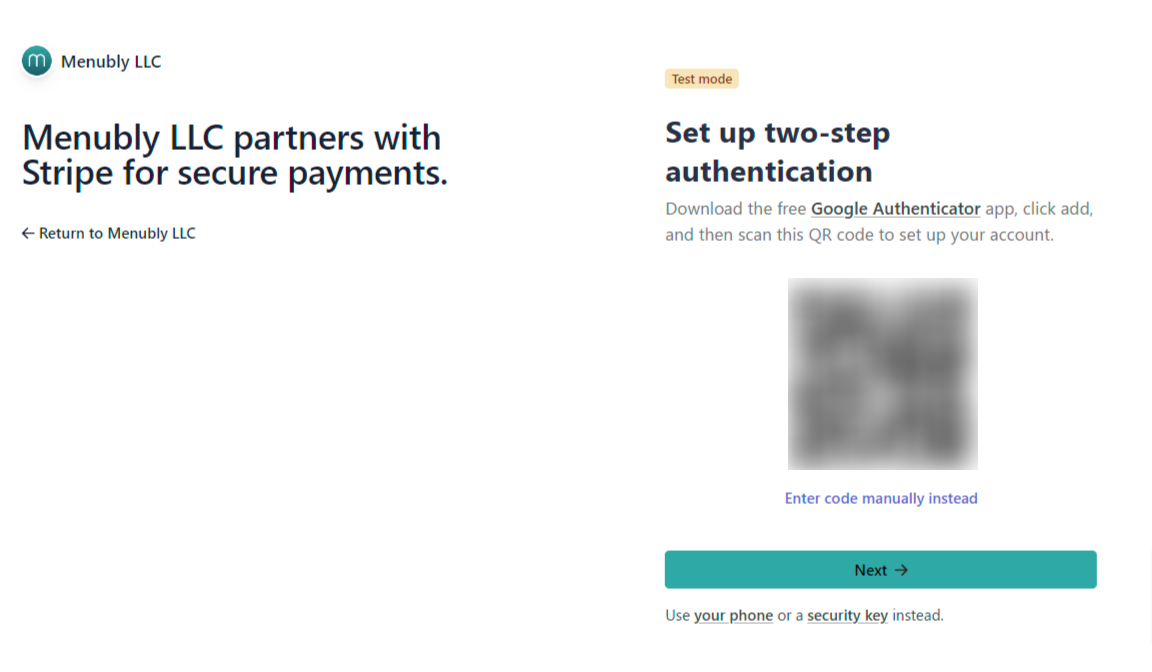
Step 5: To further secure your account, Stripe will ask you to set up two-step authentication (2FA), you will have option to use Google Authenticator app, your phone number, or a security key. Choose the method you're most comfortable with and click Next to complete the 2FA process.
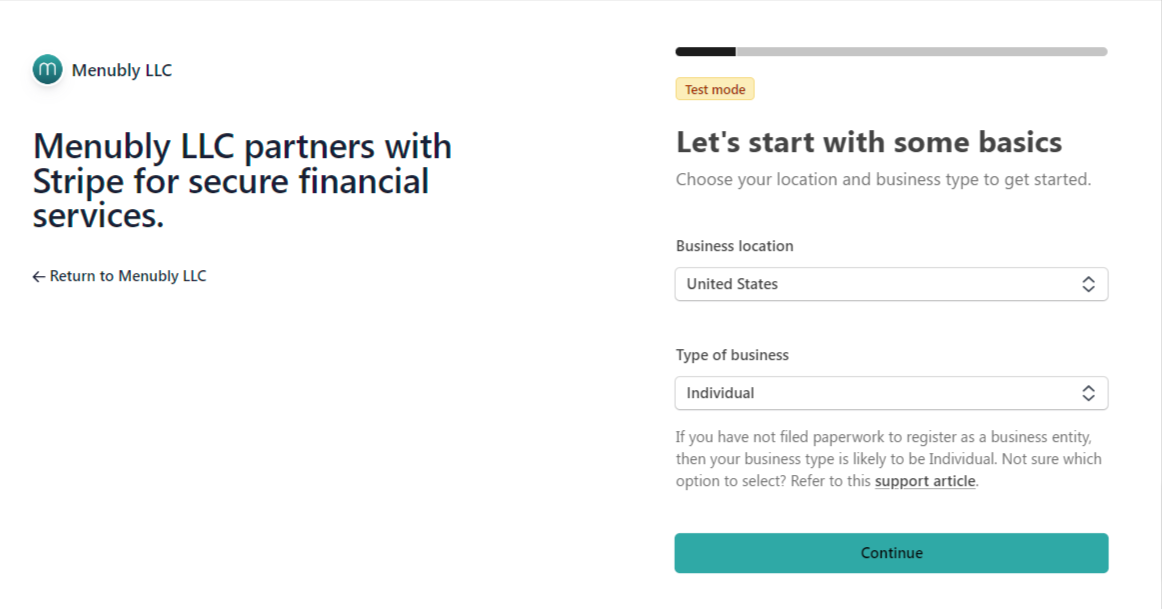
Step 6: Choose your bussiness location and Type of business
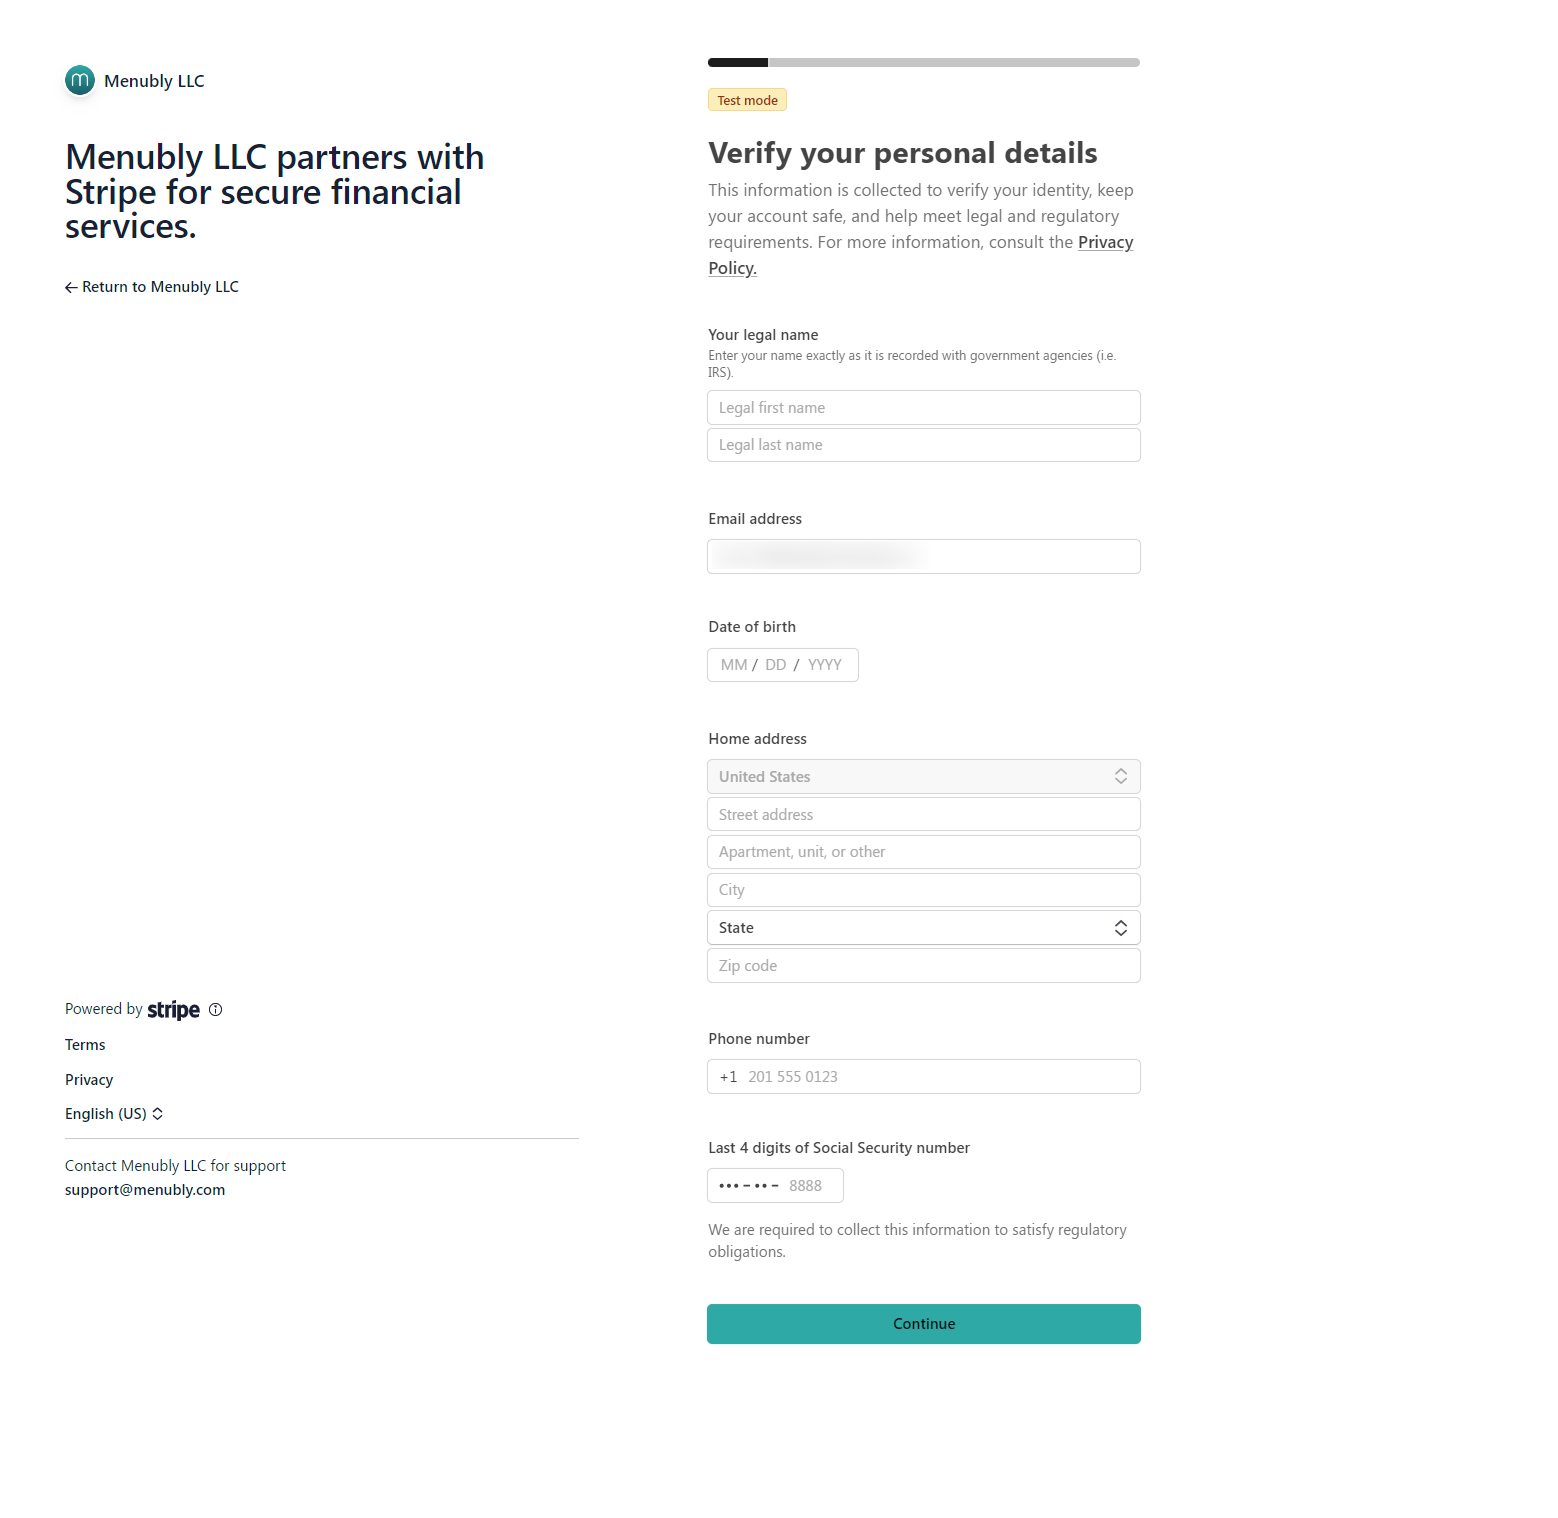
Step 7: Fill in all required information to verify your personal details. The information may be different depending on what type of business you select in previous step. For demo purposes, the screenshot below is for Individual type of business.
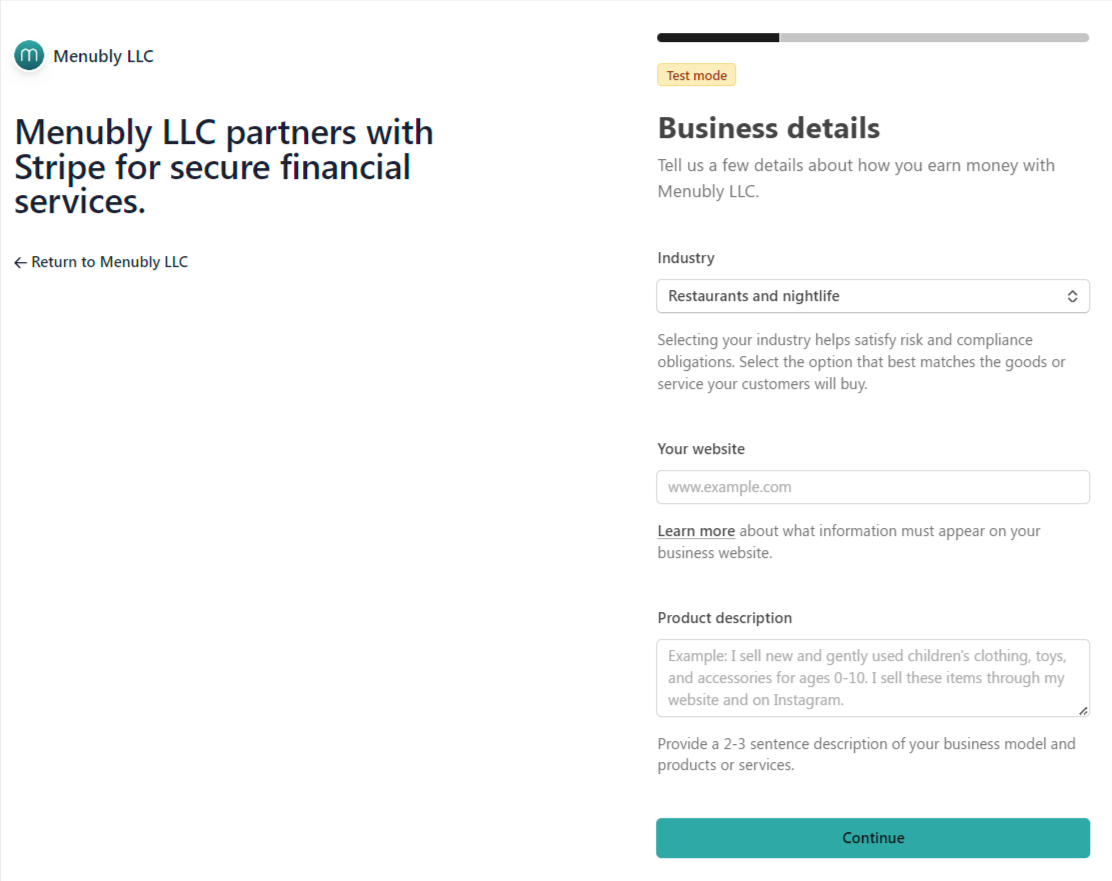
Step 8: Fill in the required information about your business. The information may be different depending on what type of business you select in previous step. For demo purposes, the screenshot below is for Individual type of business.
If you don't have a website, you can use your social media profile link.
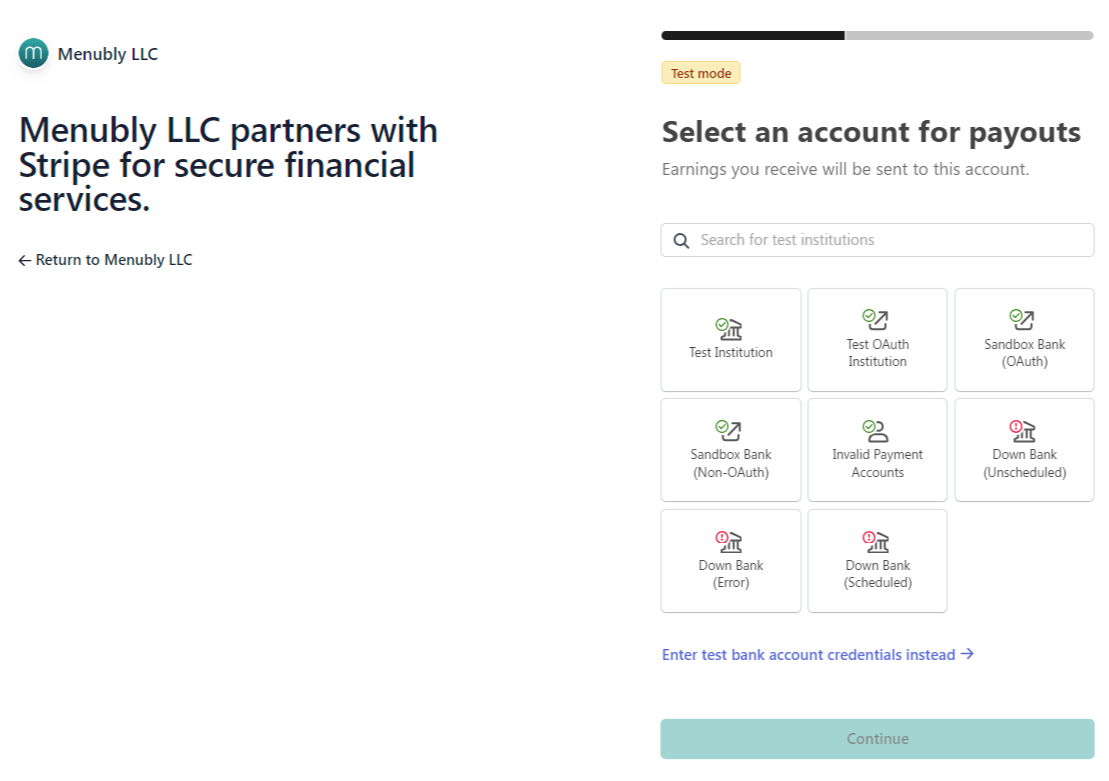
Step 9: Set up how you would like to receive payouts (the money collected from your customers will be sent to you as payouts using the method you select at this step). The options show in screenshot is for testing purposes, you may see different methods.
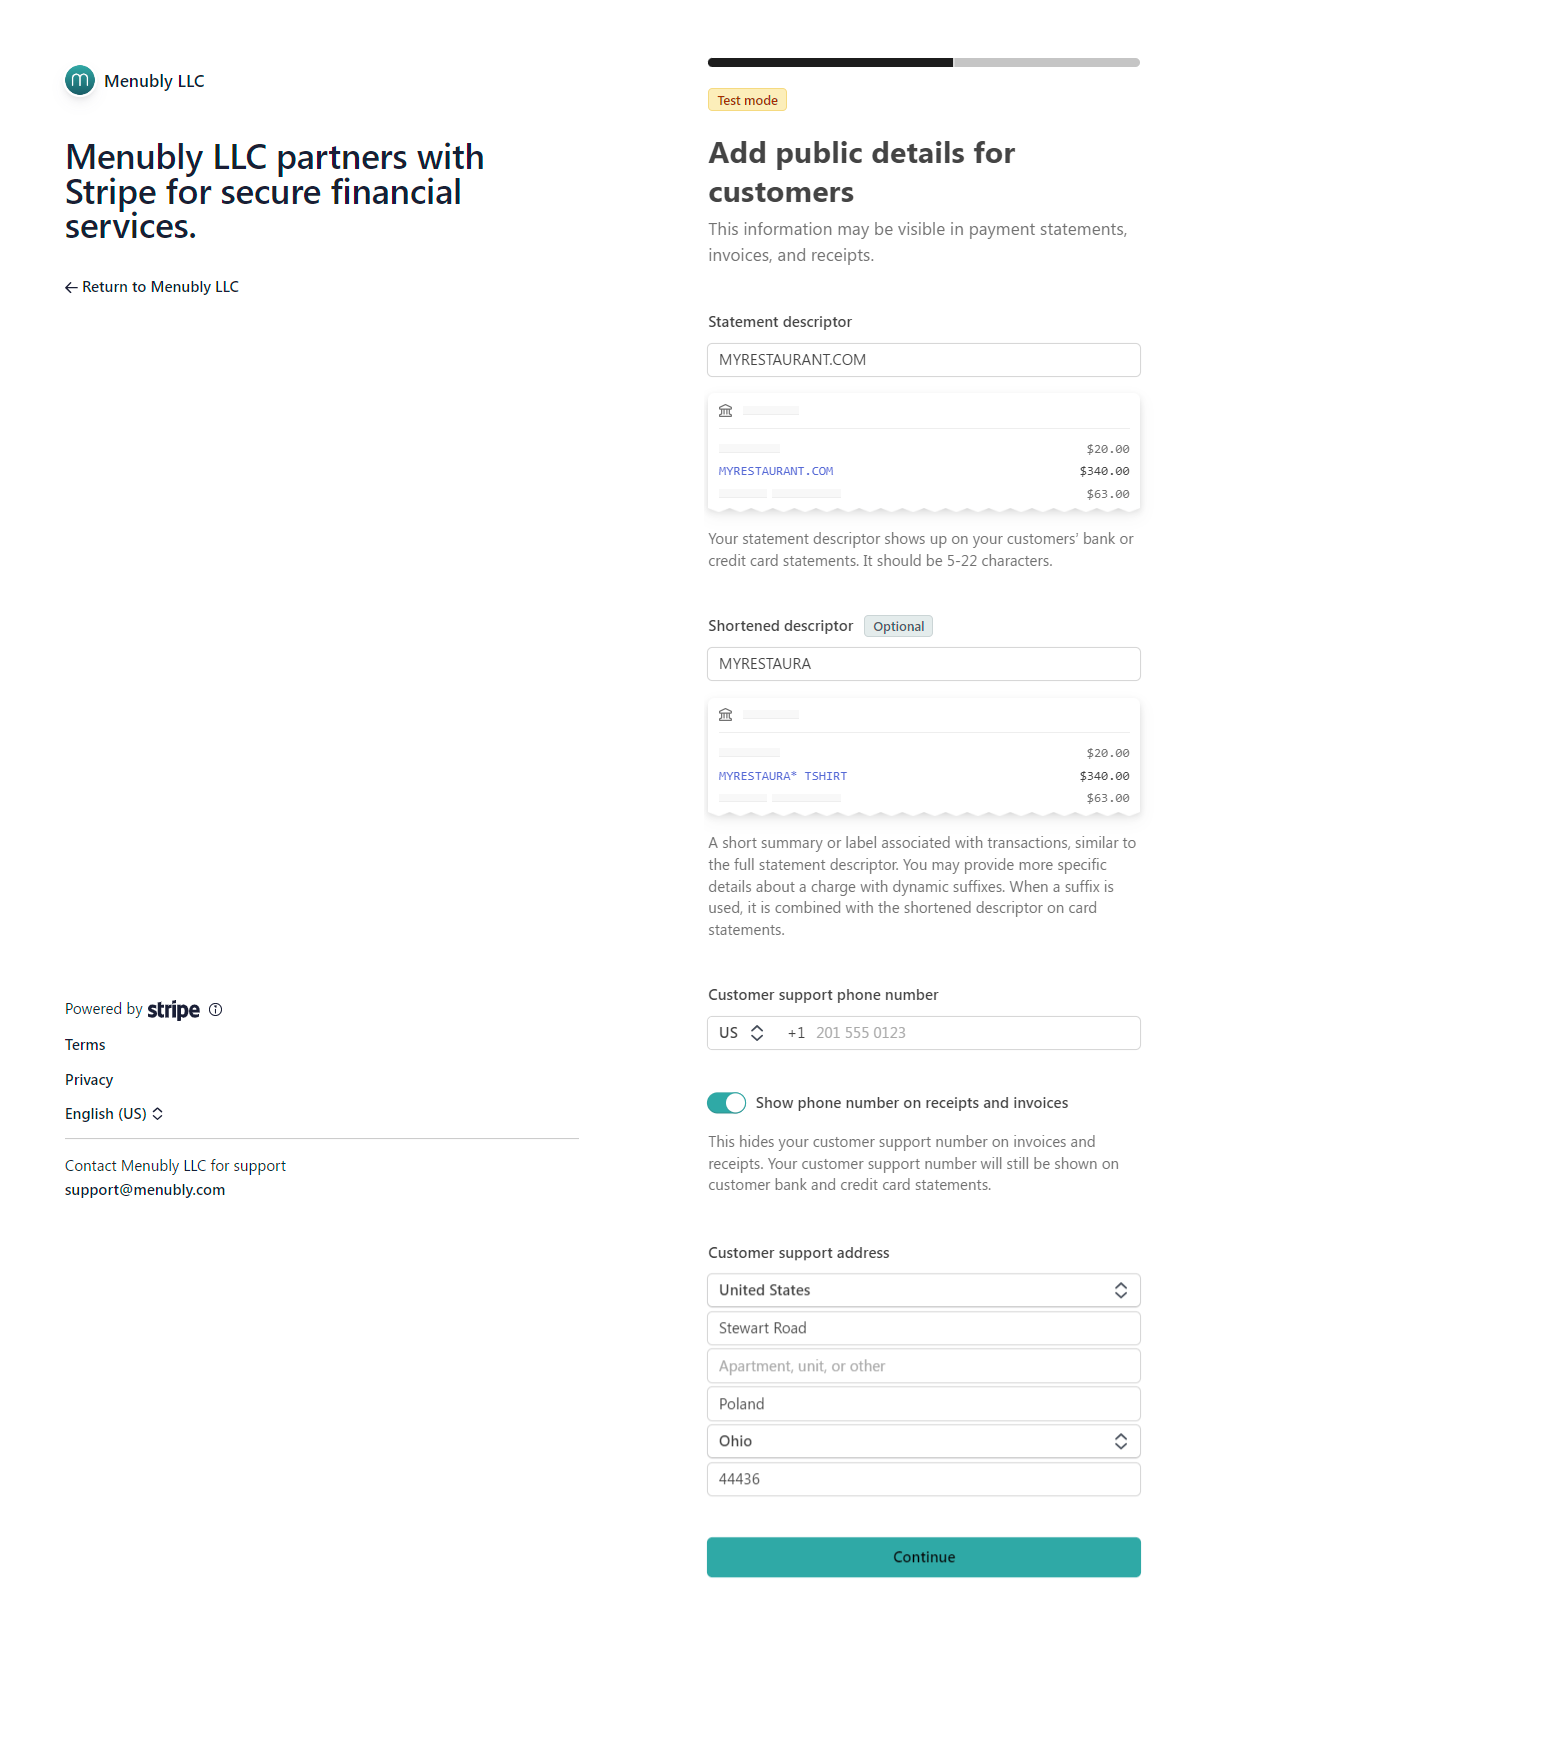
Step 10: Add some public details for your customers to see on payment statements, invoices, etc.
Step 11: You will have option to set up taxes collection with Stripe, or you can just skip it if you want. Then you only need to confirm the information you have entered in previous step and submit.
Step 12: After submitted successfully your information to Stripe, you will be redirected to Menubly.
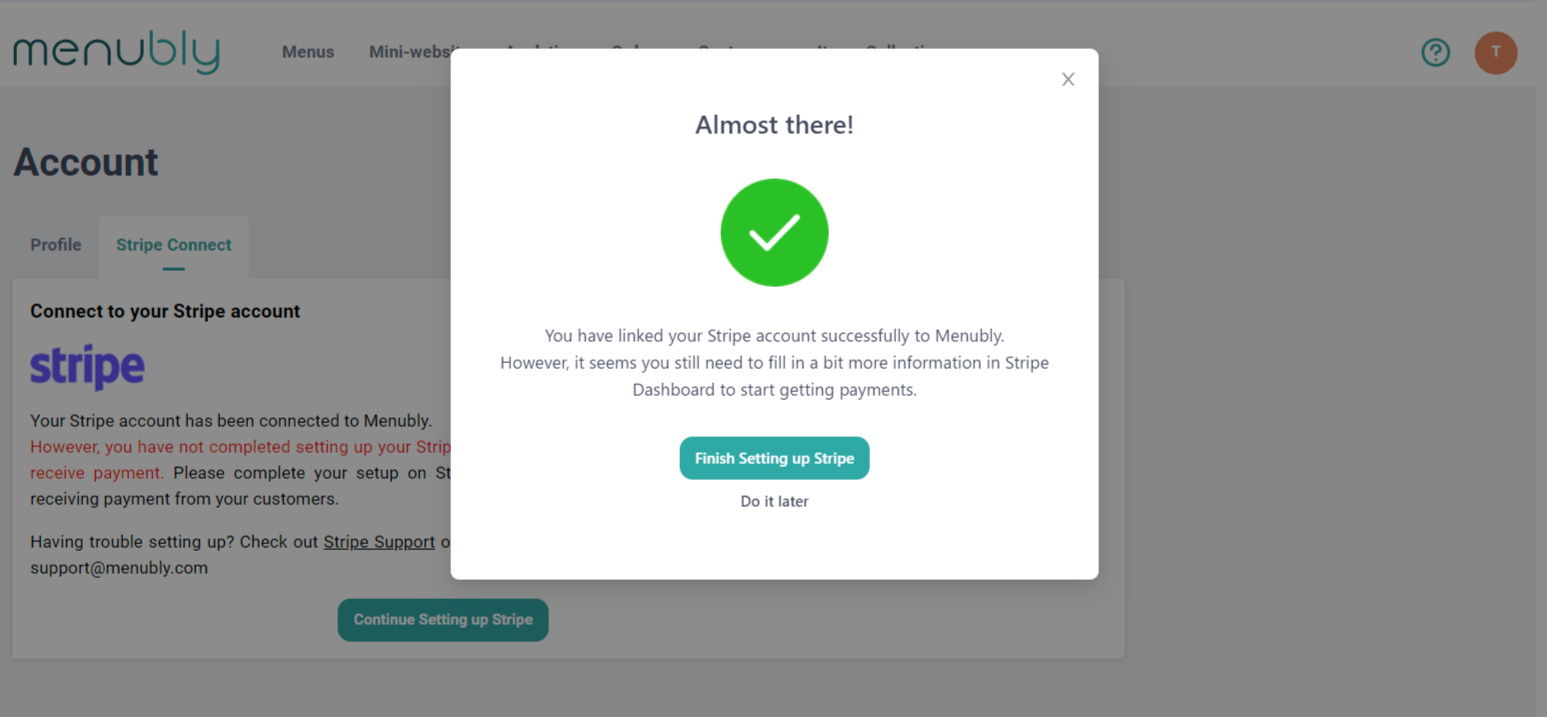
Depending on your account information, Stripe may require further information from you. If you see the pop-up below, it means Stripe needs some more information from you. Go ahead and click on Finish Setting up Stripe button. You will be redirected to Stripe Dashboard, follow the instruction on Stripe Dashboard to finish setting up.
When you get redirected to Stripe Dashboard, look for a red box to know what is missing and add the information accordingly. Example of missing information shown on Stripe Dashboard:

Step 13: After submitting all required information, make sure to check on Stripe Dashboard to see if there is any warning left. It may take up to few days to get all your information approved by Stripe.
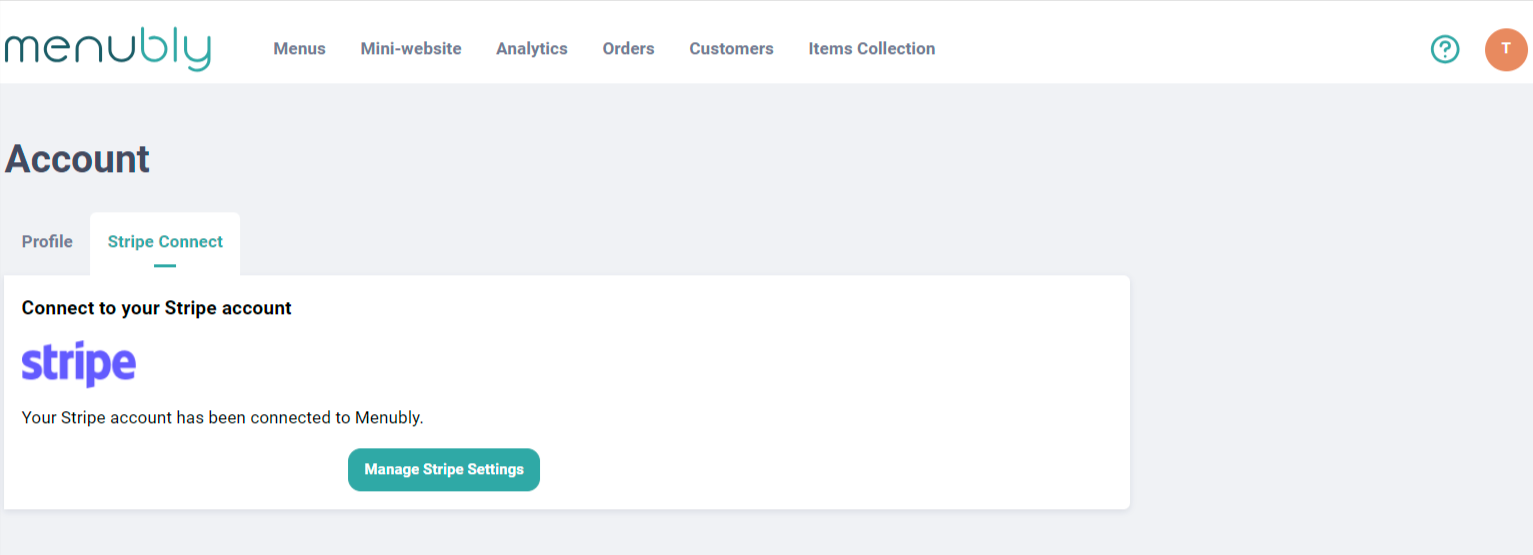
Step 14: Once your account with Stripe is approved and ready to use, go back to Menubly - Stripe Connect tab, if you see the below, it means you can turn on credit/debit card payment on your menu yayy! Now let's go to the last step.
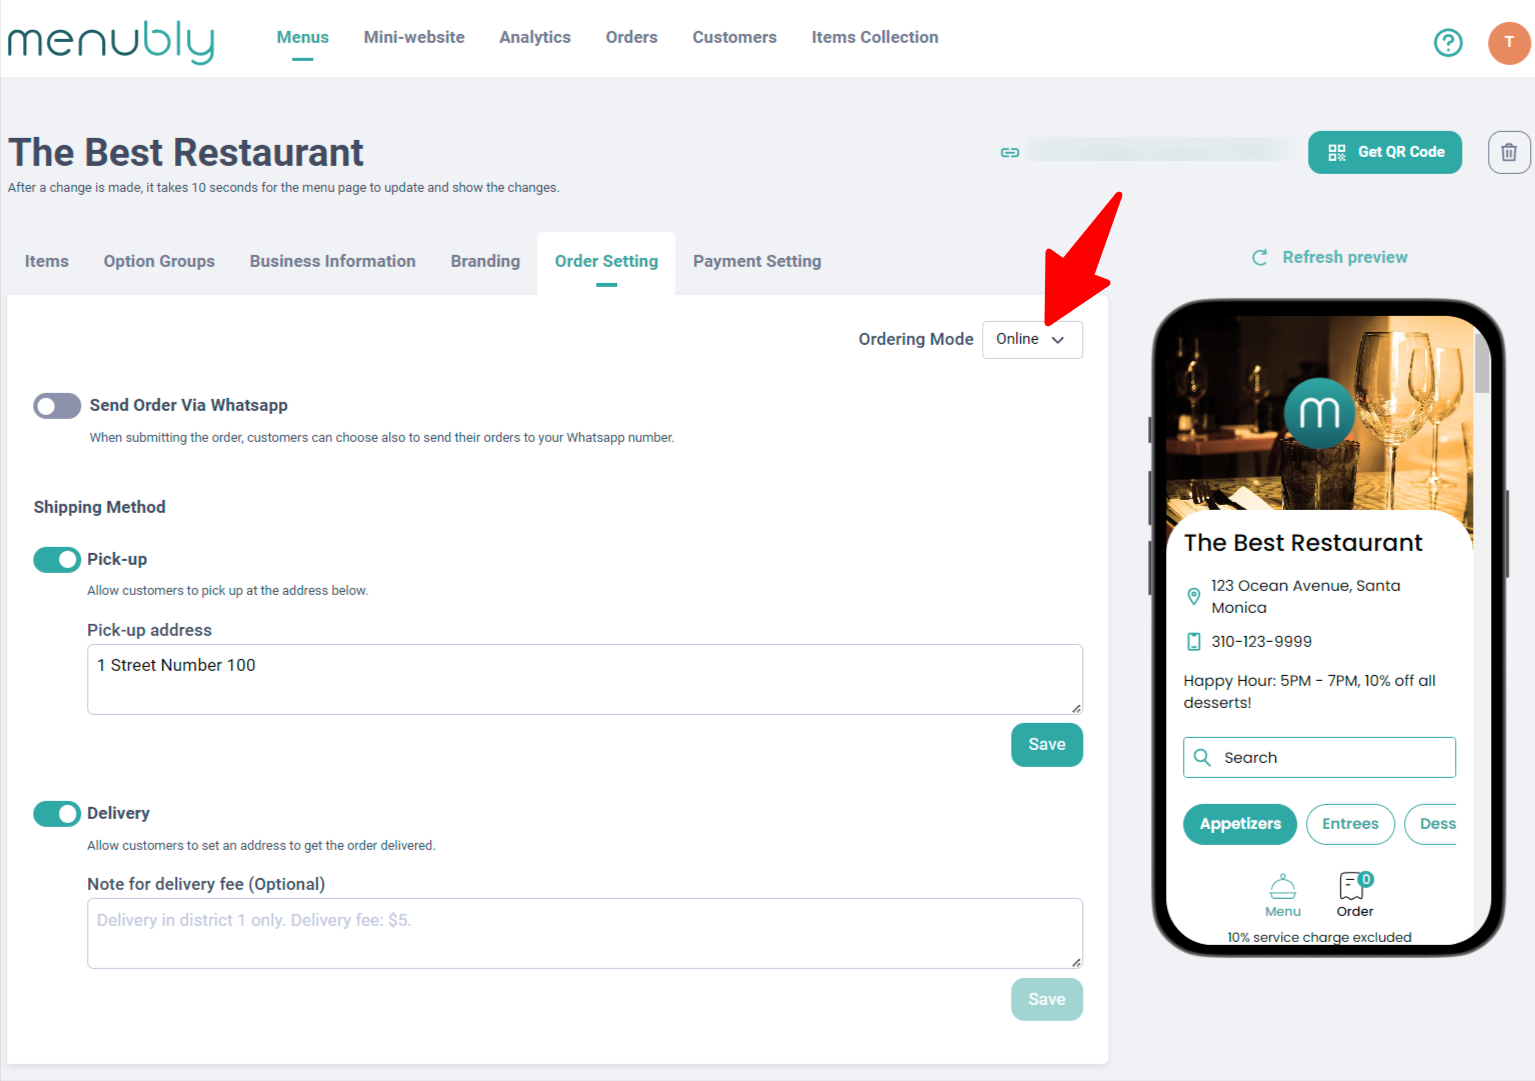
Step 15: Enable Stripe on the menu you want to collect payment from customers. Let's turn your menu into your own store!
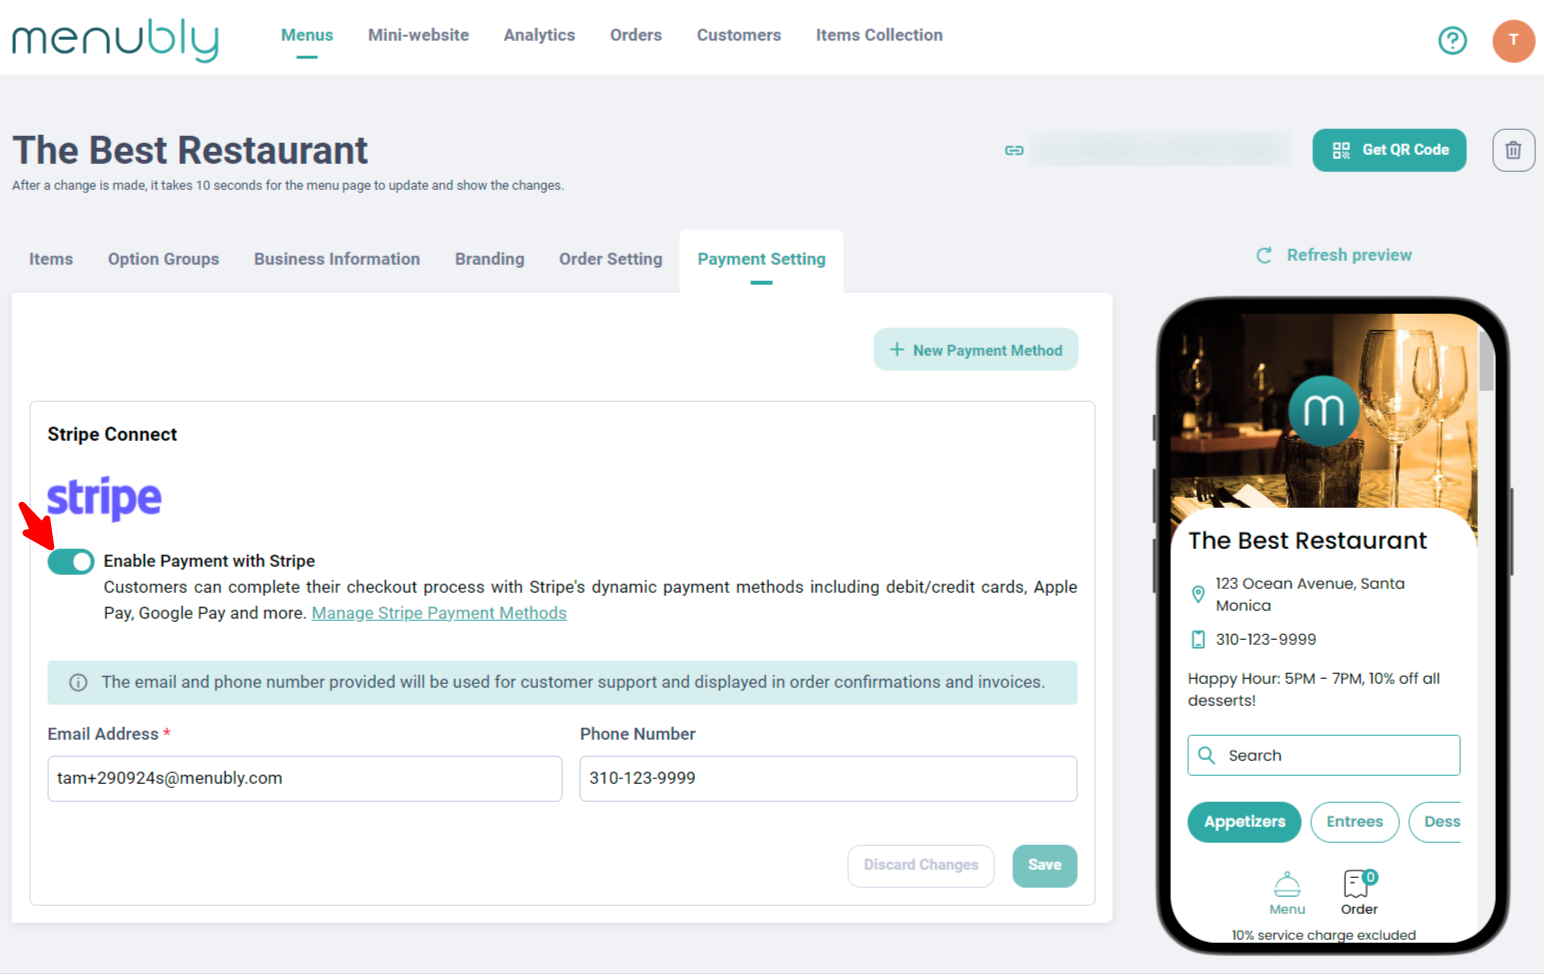
If you're selling online, don't forget to change the Ordering mode to Online, and add Pick-up or Delivery methods or both for your customers' convenience.